
Hosted payment
Redirect the shopper to Aera's payment page, then confirm and capture the payment.
With the hosted payment, the shopper pays on Aera's payment page. You create a payment session, redirect the shopper, and confirm the result on your server.
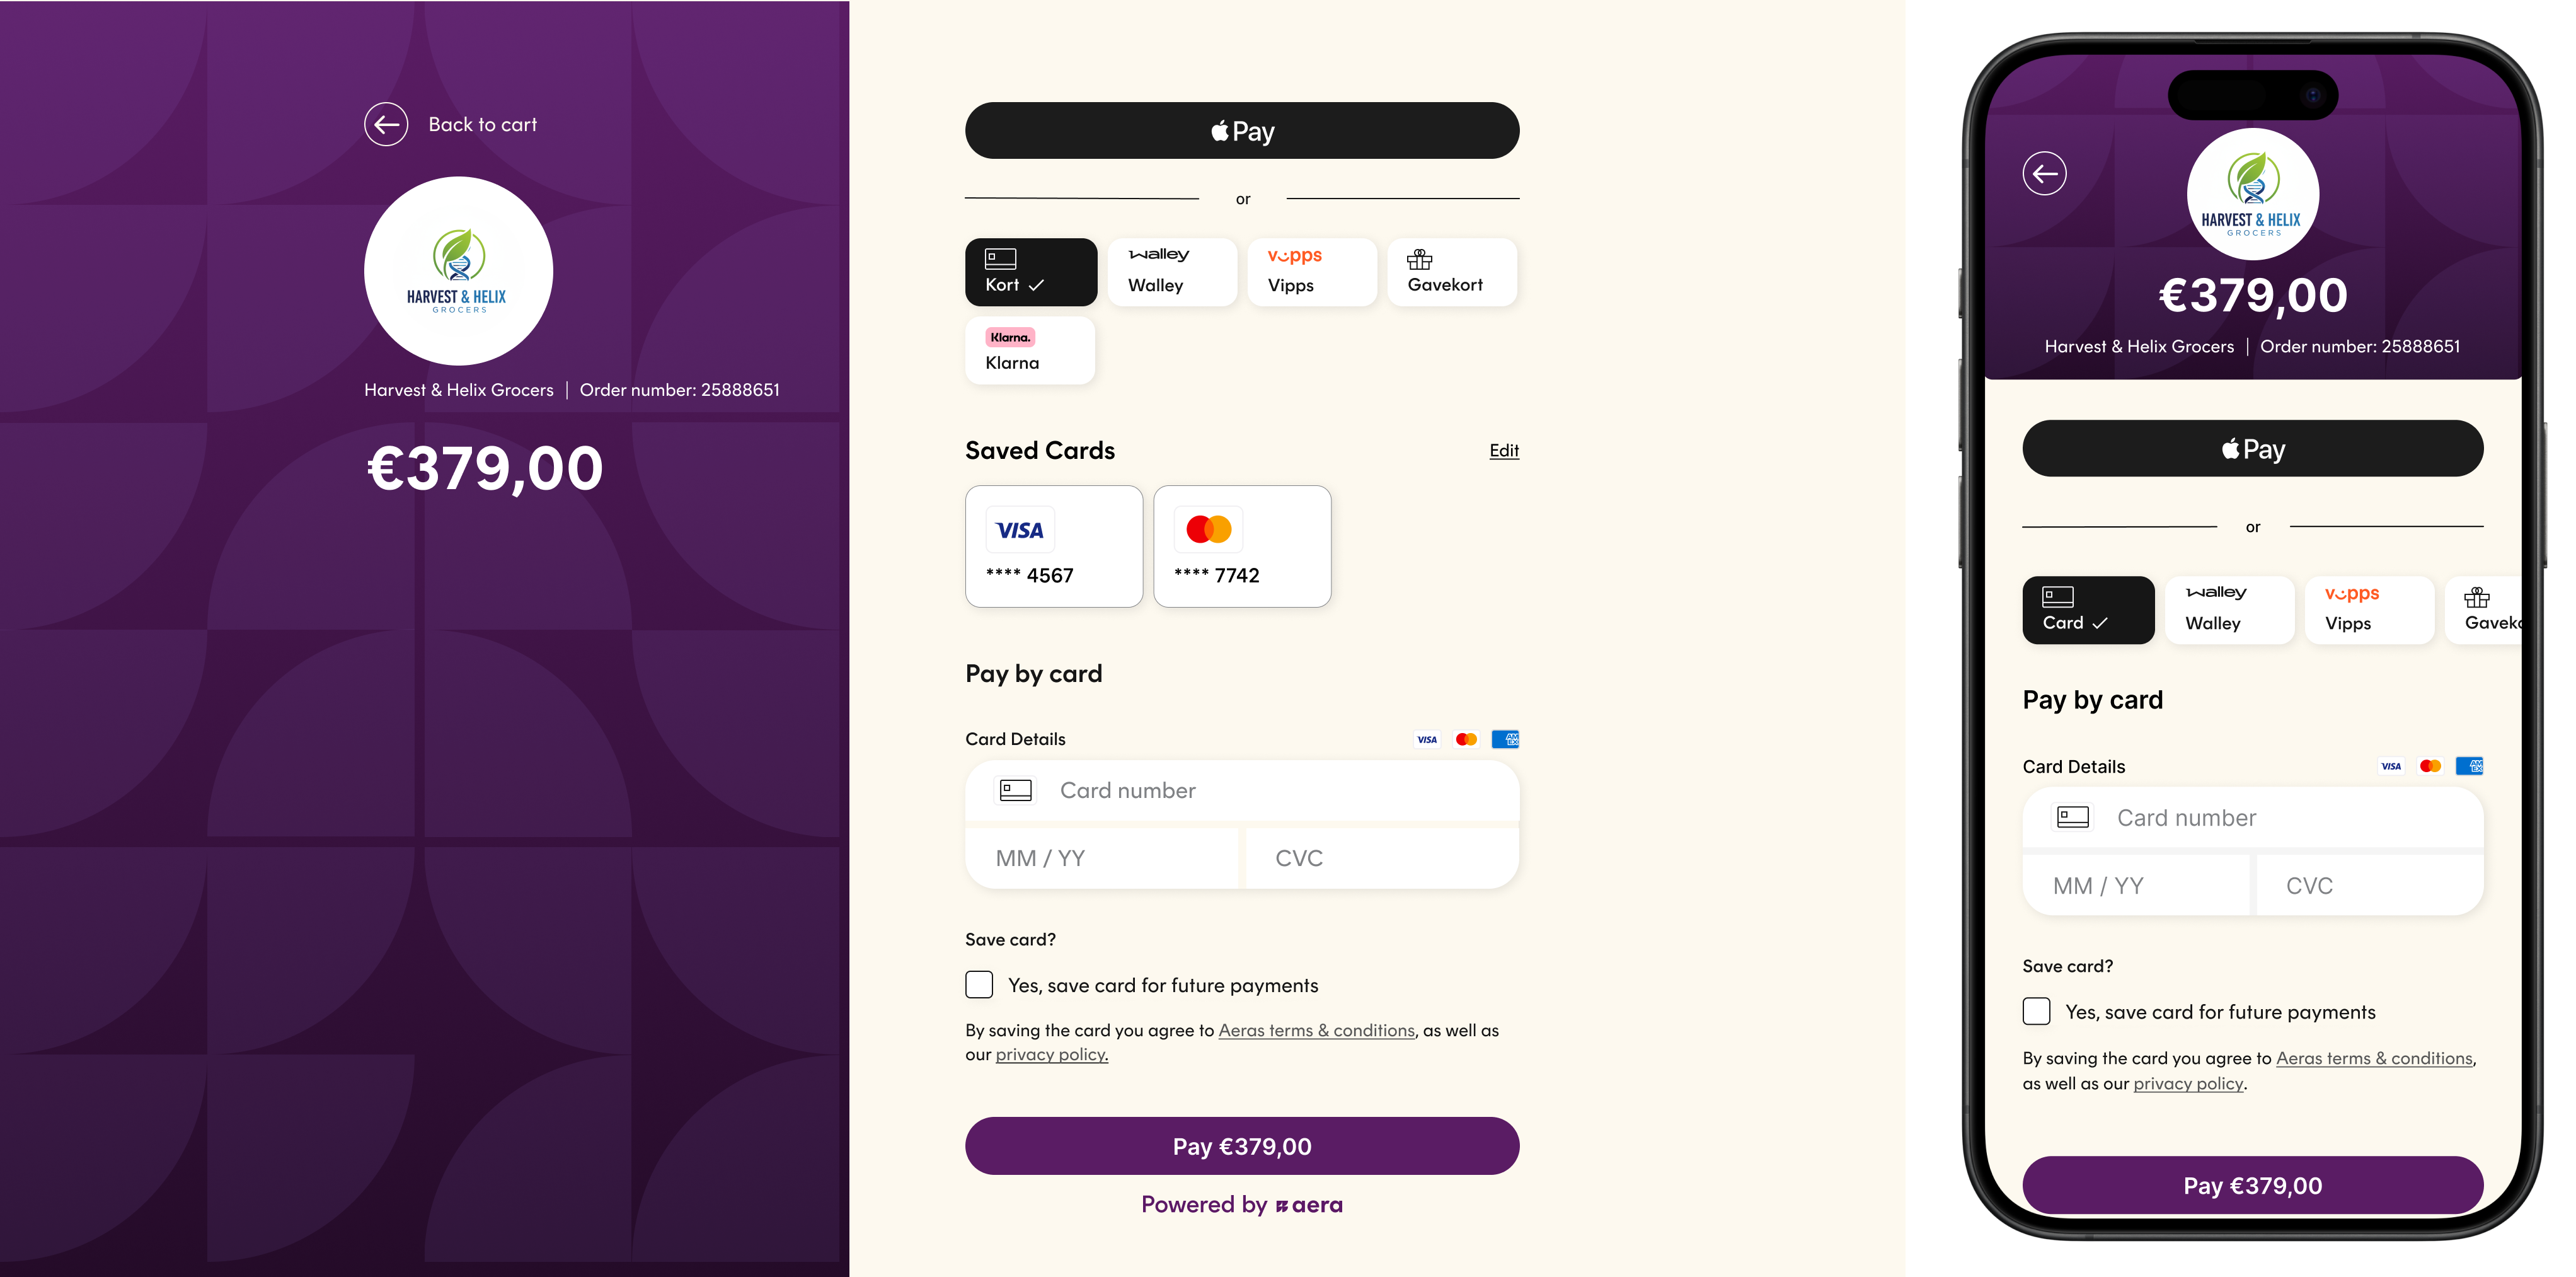
The hosted payment page is thoughtfully optimized for desktop and mobile:
How it works
- 1Shopper → Your serverClicks Pay in your checkoutYour checkout handles the basket, shipping and everything else. Aera handles the payment.
- 2Your server → AeraCreate payment sessionSend the amount, your order reference and where to send the shopper afterwards.
- 3Aera → Your serverpspReference, paymentSessionUrlSave the pspReference with your order. Every later operation uses it.
- 4Your server → ShopperRedirect to paymentSessionUrlSend the shopper to Aera's hosted payment page.
- ·MeanwhileShopper pays on Aera's hosted payment pageThe shopper chooses a payment method and pays. Your server waits.
- 5Aera → ShopperRedirect to your success, cancel or error URLShow a matching page. The return isn't proof of payment.
- 6Aera → Your serverNotification: CHECKOUT_SESSION_COMPLETEDAera tells your server the payment session is completed.
- 7Your server → AeraGet payment statusConfirm the result on your server.
- 8Aera → Your serverStatus and operationsWhen the AUTHORIZATION operation is COMPLETED, the payment is authorised and the money is reserved.
- 9Your server → AeraCapture (when you ship)Capture the reserved money when you ship the order.
- 10Aera → Your serverCapture resultAera confirms the capture. Update the order in your system.
View normal sequence diagram
sequenceDiagram
    autonumber
    participant S as Shopper
    participant M as Your server
    participant A as Aera
    S->>M: Go to checkout
    M->>A: Create payment session
    A-->>M: pspReference, paymentSessionUrl

M-->>S: Redirect to paymentSessionUrl
Note over S,A: Shopper pays on Aera's checkout page
A-->>S: Redirect to your success, cancel or error URL
A-->>M: Notification: CHECKOUT_SESSION_COMPLETED
M->>A: Get payment status
A-->>M: Status and operations
M->>A: Capture (when you ship)
A-->>M: Capture result
Get started
Step 1: Create a payment session
Call Create payment session from your server.
Example Create payment session request
{
  "merchantData": {
    "successRedirectUrl": "https://shop.example.com/order/1234/success",
    "cancelRedirectUrl": "https://shop.example.com/order/1234/cancel",
    "errorRedirectUrl": "https://shop.example.com/order/1234/error",
    "callbackUrl": "https://shop.example.com/aera/notifications"
  },
  "transactionData": {
    "merchantReference": "order-1234",
    "immediateCapture": false,
    "amountDetails": {
      "amount": 10000,
      "currency": "NOK"
    }
  },
  "paymentMethodInfo": {
    "paymentMethodWhitelist": ["CARD", "VIPPS"]
  }
}
What you can send:
| Object | What it does |
|---|---|
merchantData | Where Aera sends the shopper after checkout (success, cancel, error), and where to send notifications for this session (callbackUrl). The callbackUrl can be absolute or relative, and must be on a domain configured for your merchant account. |
transactionData | The amount, your merchantReference (for example the order number), and how the payment is captured (immediateCapture, splitShipment) and stored (storePaymentInstrument). forcedAuthentication set to true makes the shopper always authenticate, for example with 3-D Secure. |
paymentInstrumentsProfileData | Identifies the shopper, so Aera can show, pre-select or save their cards. See Save cards. |
paymentMethodInfo | Limits the payment methods in this session (paymentMethodWhitelist), and sets method details, such as which card schemes to accept. Leave it out to offer every payment method enabled for your merchant account. |
For every field, see Create payment session.
Step 2: Redirect the shopper
The response has a pspReference and a paymentSessionUrl.
Example response
{
  "responseInfo": { "responseCode": "0", "timeStamp": "2026-10-20T10:23:19.279Z" },
  "pspReference": "01J9Z8X7W6V5T4S3R2Q1P0N9M8",
  "paymentSessionUrl": "https://checkout.aera.com/session/abc123"
}- Save the
pspReferencewith your order. You need it for every later operation on the payment. - Redirect the shopper to the
paymentSessionUrl.
The shopper chooses a payment method and pays. Authentication, such as 3-D Secure or approval in the Vipps MobilePay app, happens as part of the checkout.
Step 3: Handle the shopper's return
After the payment, Aera sends the shopper to your successRedirectUrl, cancelRedirectUrl or errorRedirectUrl. Show the shopper a page that matches, but don't treat the return as proof of payment. See Handle the payment result.
Step 4: Confirm the result on your server
Wait for the CHECKOUT_SESSION_COMPLETED notification, or call Get payment status with the pspReference. When the AUTHORIZATION operation is COMPLETED, the payment is authorised.
Step 5: Capture the payment
If you sent immediateCapture false, the money is only reserved. Capture it when you ship:
POST /v1/{pspReference}/captureNo body in the request captures the full amount. See Capture a payment.
If you sent immediateCapture true, the payment is captured right away, and you don't need this step.
Customise the payment page
In the Aera portal you can change the payment page's look and feel, branding elements and the order of the payment methods.
Good to know
- Every operation after this one uses the
pspReference. - The payment methods on the page depend on your agreements and setup, and on
paymentMethodWhitelist. See Payment methods. - Want the form in your own page instead? See Embedded checkout.
Updated 4 days ago